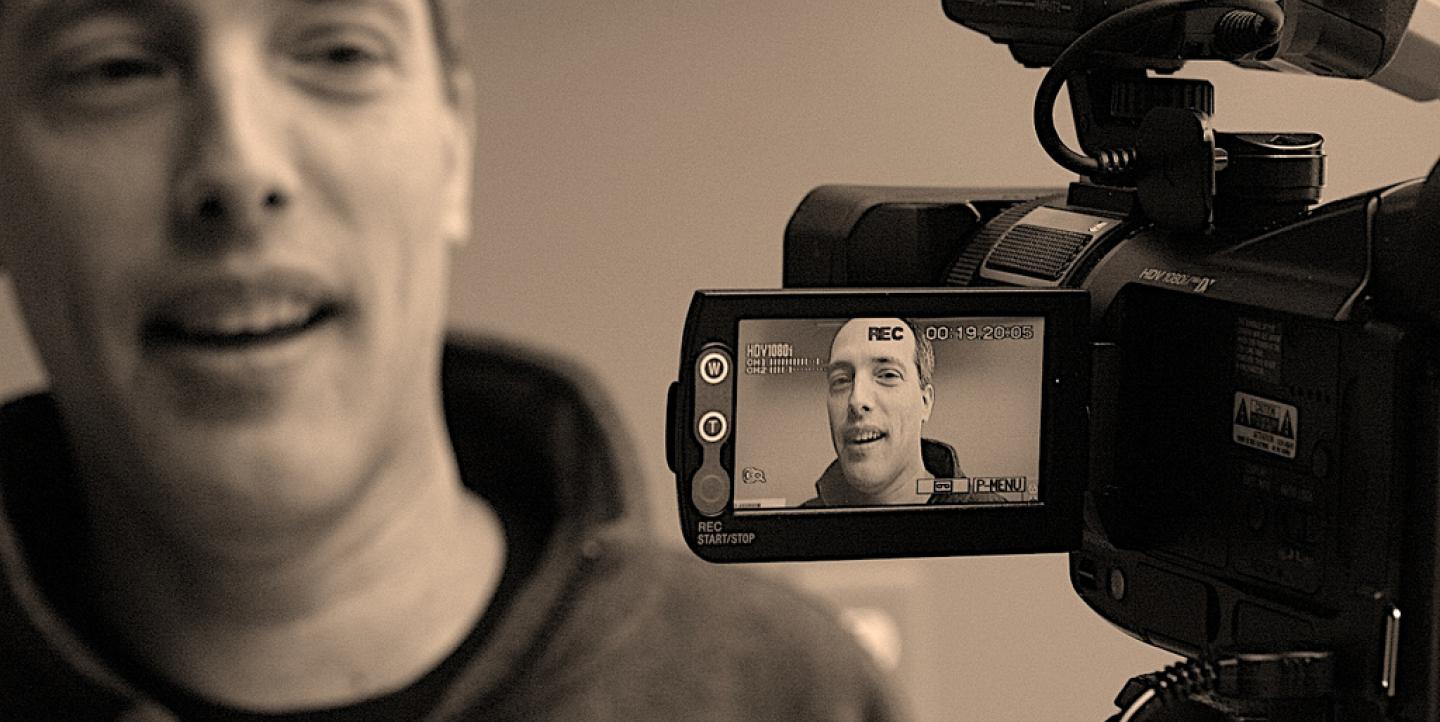
Shooting a sit-down interview is all about controlling your environment. It’s not the same as shooting documentary footage; it’s about using your producing skills to make sure you get great sound and beautiful picture in your interview. Five ways to get there:
1. Assess the room where you will conduct the interview, specifically the light, noise and potential backgrounds. Then you can start removing the things standing in your way of a perfect interview.
- What kind of lights will you use? Can you use the window light? Is it quiet enough?
- Are there fans, air conditioners or refrigerators making noise?
2. Start with sound. The interview will most likely be the backbone of your video, so make sure that the audio is perfect.
- The room needs to be quiet and isolated, with no people barging in or walking behind the subject. Trouble spots: bars, restaurants, kitchens, crowded parks.
- If there is music playing, politely ask that it be turned off (otherwise it will be hard to edit), or go somewhere else.
- If there is noise from an AC, refrigerator, or any loud machine that can be turned off, ask to do so. If the answer is no, change your location.
- Bonus tip: If you unplug a fridge, stick your keys inside. That way you can’t leave without remembering to plug it back in.
3. Choose the chair your subject will sit in — it’s more important than you may think. Your goal is to reduce movement.
- YES: A four-legged chair with a straight back. A conventional, stationary chair.
- NO: Rolling chairs (people will use those wheels), Soft (sofas, recliners, beanbags: these all lead to slouching), Stools (You want a chair with a back, for comfort).
4. Make sure that the background of your interview won’t distract from your subject.
- Leave some space between your subject and the wall behind him or her to avoid shadows and to blur the wall.
- Clean all clutter and mess. You can move furniture around, but put it all back.
- Make sure your subject doesn’t have things sticking out from behind her or his head. Is the background color clashing with their skin tone or clothes?
- Camera setting suggestions for optimal depth of field: 50-85mm focal length and f/4 or f/5.6 aperture.
5. Set up your lighting. Which source of light are you going to use? Natural light (a window) or artificial light? Avoid mixed lighting, as it is very hard to white balance.
- Turn off all lights that you don’t want to use. If you’re using natural light, it’s important to eliminate tungsten or fluorescent light.
- If you choose to use artificial light sources, close all the curtains so that no natural light comes in.
- If the light available is not bright enough (tip: it’s usually not!), set up your lights to supplement. Your goal is to reduce shadows on the face, unless you’re going for a stylized interview.
- Set the white balance on your LED lights to match the existing light in the room. 5600K for natural light and 3200K for fluorescent light are good starting points.
- Once everything is set, white balance your camera to match your interview lighting settings.
You can download the PDF of this tutorial here.
This post originally appeard on Columbia Visuals and is republished on IJNet with permission. Columbia Visuals is a resource for visual journalists that explores and celebrates the creative and practical aspects of making visual journalism. It is a project of the Digital Media department at Columbia University's Journalism School.
Main image CC-licensed by Flickr via David Tames.

